Throughout our coursework we have been using blogger to showcase our work. We set up our own blog, designing its layout ourselves. We collaborated on posts and commented on each others private work. We used youtube for some of our research, embedding videos onto the blog where appropriate. As well as youtube, we used websites such as watchthetitles.com and artofthetitle.com for our research. These helped us to build on our own idea whilst showing us how different films within a genre can be.

 Use of Camera
For our piece we used a Nikon SLR camera for filming. It produced:
- great quality pictures,
- HD filming and sound.
- The zoom was 18-55 mm, and allowed us to do some great shots.
Throughout our piece we had to make sure to always film with the camera landscape. So all of our footage would match up to the size of the screen, we could shoot portrait. One of our early mistakes was to shoot in both layouts. Instead of proving our photos useless, we fixed the problem by zooming in on them so they met the edge of the screen.
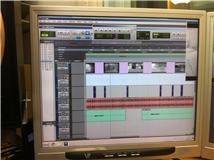
Use of Premiere 8
To edit our footage we used 'Premiere 8'. These were the steps we used to make our film opening:
- The first step to editing our footage was to upload everything we had shot onto 'Premiere 8'. Once everything had been uploading we looked at everything we had decided on which we wanted to use in our final piece. Whilst filming, we always wanted to shoot too much rather than just a little.
- We then watched some of our footage back on the computer, we realised that some of it was unsuitable to use in our final edit. Once we had all of our footage, we could start editing.
- To edit our footage, we had to drag each clip one by one onto the time line. We then had to create an order for all of our footage.
- We decided to edit everything in one location together, separating each location by a common clip. Throughout our piece used an extreme close-up of the girls face to create a separation between each location, giving the impression that each location, each memory is deeper inside her mind. These clips helped to define the line of narrative more clearly.
Effects we used with Premiere:


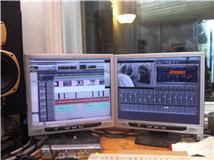
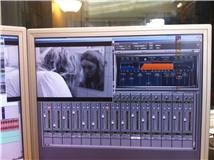
Use of Pro Tools
For our piece we wanted to create our own original sound. To do this we went to 'Blizzard Records' and used the studio. We had a strong idea of what we wanted in our sound; a number of different sound effects that would all build together to create a crescendo at the end of our piece. To edit and record our sound we used a software called 'Pro Tools'. In the studio we recorded each sound separately, created different tracks on the computer. This allowed us to edit each sound individually, tailor-making the soundtrack exactly for our piece. The sounds we recorded where:
No comments:
Post a Comment